
Why Administrative Access Is the First Thing You Lock Down#
You can have the best firewall rules in the world, but if someone can Telnet into your router with a default password, none of it matters. Securing administrative access is step one of hardening any network device. Before you write a single ACL or configure a VPN, you make sure the management plane is locked down.
This applies to routers, switches, firewalls, and anything else with a CLI. If you can configure it, you can break it. So you control who gets in, how they get in, and what they can do once they are there.
Password Types: Not All Hashes Are Equal#
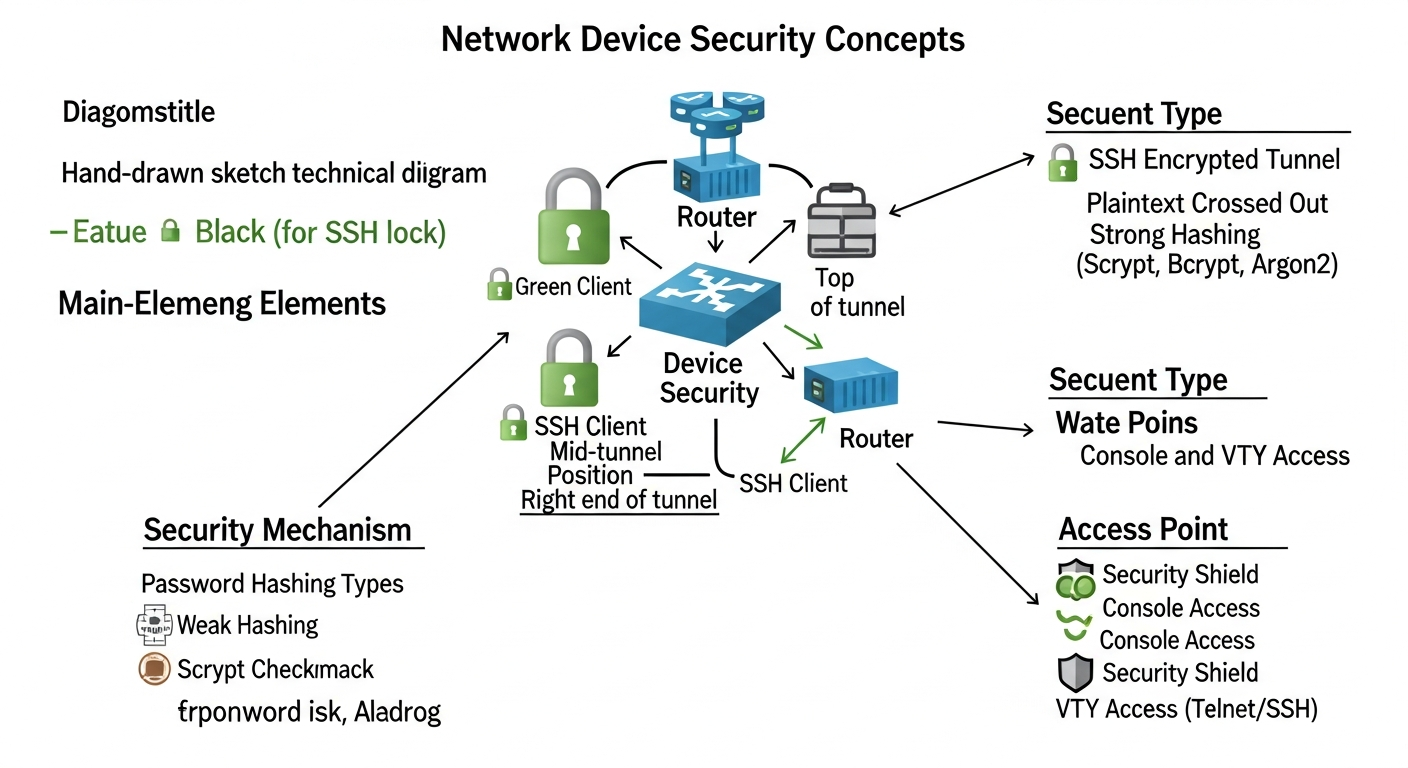
Cisco IOS stores passwords in several different formats, and the differences matter more than most people realize.
Type 0 is plaintext. Your password sits right there in the config file for anyone who runs show running-config. This is the default if you just type password mypassword on a line. Never acceptable in production.
Type 7 uses a Vigenere cipher. It looks encrypted, but it is trivially reversible. There are free tools online that decode Type 7 passwords in seconds. The service password-encryption command converts plaintext passwords to Type 7, but calling it "encryption" is generous. It stops shoulder surfing. That is about it.
Type 5 uses MD5 hashing. For a long time this was the standard for enable secret. It is no longer considered secure. MD5 is fast to compute, which means attackers can brute-force it efficiently with modern hardware.
Type 8 uses PBKDF2 with SHA-256. The key improvement is that it is iteration-based, meaning each hash computation takes significantly longer. This makes brute-force attacks much slower.
Type 9 uses scrypt. This is the strongest option available. scrypt is both CPU-intensive and memory-intensive, which means attackers cannot efficiently parallelize cracking attempts with GPUs or ASICs. If your IOS version supports it (15.3(3)M or later), this is what you should use everywhere.
! Always use scrypt for enable secret
Router(config)# enable algorithm-type scrypt secret YourStrongPassword

! And for local usernames
Router(config)# username admin algorithm-type scrypt secret YourStrongPassword
The hash prefix in the config tells you what type was used: $9$ for scrypt, $8$ for PBKDF2, $1$ for MD5. If you see $1$ in your configs, it is time to upgrade.
Service Password-Encryption: Better Than Nothing#
Running service password-encryption converts all plaintext passwords in the config to Type 7. Should you use it? Yes. Should you rely on it? No.
Think of it as a screen lock on your phone. It does not stop a determined attacker, but it prevents casual exposure. The real protection comes from using enable secret with Type 8 or Type 9 hashing for your critical passwords.
Before the command, your console password looks like this in the config:
line con 0
 password ciscoconpass
After:
line con 0
 password 7 094F471A1A0A464058
It looks better, but anyone who copies that string into a Type 7 decoder gets your password back instantly.
Brute-Force Protection with Login Block-For#
Network devices are targeted by automated credential-stuffing attacks just like web applications. The login block-for command is your built-in defense.
Router(config)# login block-for 120 attempts 3 within 60
This translates to: if someone fails authentication 3 times within 60 seconds, block all login attempts for 120 seconds. The router enters "quiet mode" and refuses connections from everyone.
You can whitelist specific management IPs that should still be allowed during quiet mode:
Router(config)# login quiet-mode access-class ADMIN-ACL
Combined with logging:
Router(config)# login on-success log
Router(config)# login on-failure log
Now you have both prevention and visibility. You know who tried to get in, when they tried, and from where.
SSH: Replace Telnet Everywhere#
Telnet sends everything in cleartext. Your passwords, your commands, your configuration changes, all of it visible to anyone capturing traffic on the network. SSH encrypts the entire session.
Configuring SSH on a Cisco device takes six steps:
1. Set a hostname (SSH requires it for the key name):
Router(config)# hostname R1
2. Set a domain name (also required for the key name):
R1(config)# ip domain-name netsec.com
3. Generate RSA keys (minimum 1024 bits):
R1(config)# crypto key generate rsa general-keys modulus 1024
4. Create a local user with strong credentials:
R1(config)# username admin privilege 15 algorithm-type scrypt secret StrongPass123
5. Configure VTY lines to use the local database:
R1(config)# line vty 0 4
R1(config-line)# login local
6. Restrict VTY to SSH only:
R1(config-line)# transport input ssh
After that, force SSH version 2 and tighten the timeouts:
R1(config)# ip ssh version 2
R1(config)# ip ssh time-out 90
R1(config)# ip ssh authentication-retries 2
With transport input ssh configured, anyone trying to Telnet in gets rejected. That is exactly what you want.
Line Security: Console, VTY, and AUX#
Every access line on a network device needs to be secured individually.
Console (line con 0) is the physical port. Someone needs to be standing next to the device with a cable plugged in. Even so, it needs a password and a timeout:
R1(config)# line console 0
R1(config-line)# login local
R1(config-line)# exec-timeout 5 0
R1(config-line)# logging synchronous
The logging synchronous command prevents syslog messages from interrupting what you are typing. Small thing, but it matters when you are troubleshooting at 2 AM.
VTY (line vty 0 4) handles all remote access. This is where SSH connections land:
R1(config)# line vty 0 4
R1(config-line)# login local
R1(config-line)# transport input ssh
R1(config-line)# exec-timeout 5 0
AUX (line aux 0) is the auxiliary port for modem access. If you are not using it, lock it down anyway:
R1(config)# line aux 0
R1(config-line)# login local
R1(config-line)# exec-timeout 5 0
The key difference between login and login local: plain login only asks for a password. login local requires both a username and password from the local database. Always use login local because it gives you accountability. You know which admin logged in, not just that someone knew the shared password.
Password Recovery: Why Physical Security Matters#
If you forget the enable password, you can recover it through the console port. This is a feature, but it is also a vulnerability. Anyone with physical access to the device can reset the password.
The procedure works by changing the configuration register from 0x2102 (normal boot) to 0x2142 (skip startup-config on boot). The router comes up without any configuration, you copy the startup-config back into running-config, change the password, restore the register, and save.
The critical takeaway: physical access to a network device means full access. This is why routers belong in locked server rooms, not under someone's desk. If physical security is a concern, you can disable password recovery entirely:
Router(config)# no service password-recovery
But be careful with this. If enabled and someone triggers the break sequence, the startup config gets wiped completely. The router boots to factory defaults. You need good backups if you go this route.
Banners: The Legal Shield#
Banners seem like the least technical part of device security, but they serve a critical legal function. Without a banner warning against unauthorized access, prosecuting an intruder can be difficult in some jurisdictions. The argument becomes "how was I supposed to know I wasn't allowed?"
R1(config)# banner motd $Unauthorized access is strictly prohibited.
All activity is monitored and logged.$
The MOTD banner displays before the login prompt. A login banner displays after MOTD but before authentication. An exec banner displays after successful login. At minimum, every production device should have a MOTD banner with a legal warning.
Key Takeaways#
- Use Type 9 (scrypt) passwords everywhere your IOS supports it. Stop using MD5
- SSH version 2 only. Block Telnet on all VTY lines with
transport input ssh login localoverloginfor accountability. You need to know who logged in, not just that someone didlogin block-forprotects against brute-force attacks. Combine it with logging for full visibility- Physical security is network security. Password recovery proves that console access equals root access
- Banners are not optional. They are your legal foundation for prosecuting unauthorized access
Comments (0)
Sign in to join the conversation